- Supported formats: PDF, JPG, PNG, BMP
- Drag and drop your files to upload.
- Maximum file size depends on your plan (up to 20 MB)
- You can upload multiple files depending on your plan.
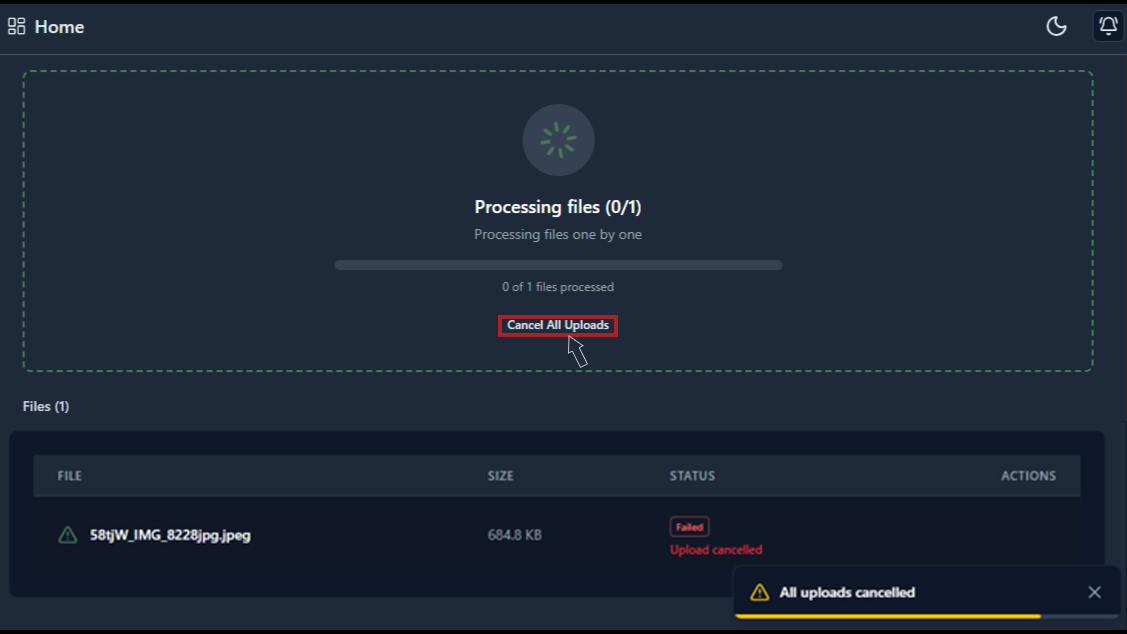
- If you upload the wrong file, use the Cancel Upload button before the upload reaches 100%.
- If a file upload fails, your credits will be restored.
- Once the file is completed, you will receive an email notifying you that your file is ready to download.
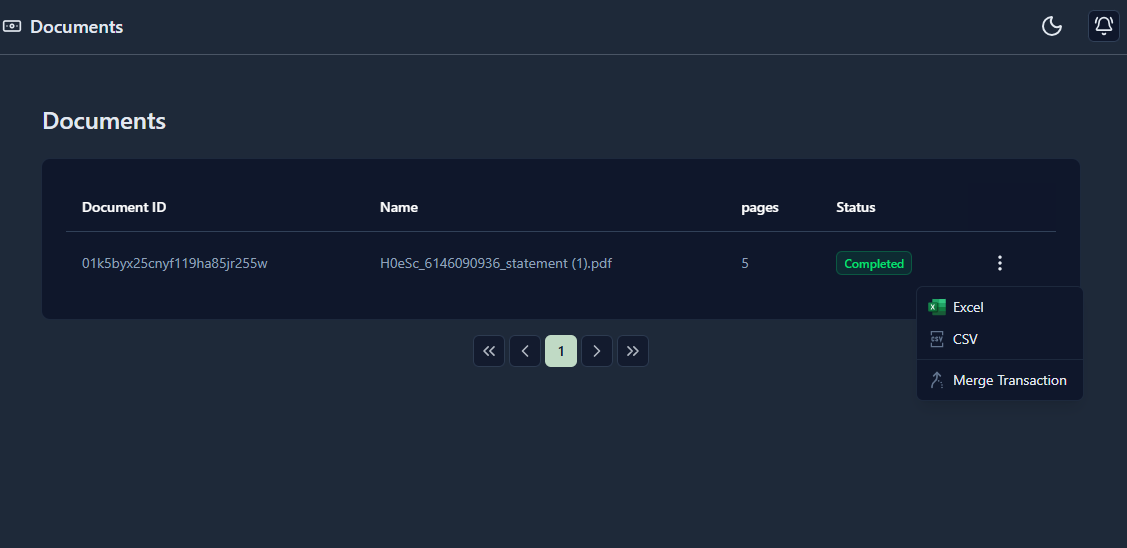
- After your file is complete, you can download it in your desired formats such as Excel or CSV.
- Starter: Files are processed in a queue (one by one).
- Pro: Files are processed in parallel. (Files are processed simultaneously)
- Bussiness: Files are processed in parallel. (Files are processed simultaneously)
Plan Details
| Plan | File Size Limit | Processing Mode | Maximum Document Attachments | File Types | Data Retention |
|---|---|---|---|---|---|
| Starter | Max 5 MB | Queue | Multiple document processing Max 5 | PDF, JPG, PNG, BMP | 30 days |
| Pro | Max 10 MB | Parallel | Multiple document processing Max 10 | PDF, JPG, PNG, BMP | 90 days |
| Bussiness | Max 20 MB | Parallel | Multiple document processing Max 20 | PDF, JPG, PNG, BMP | 365 days |
Reference
Follow the screenshots below for a visual guide.
-
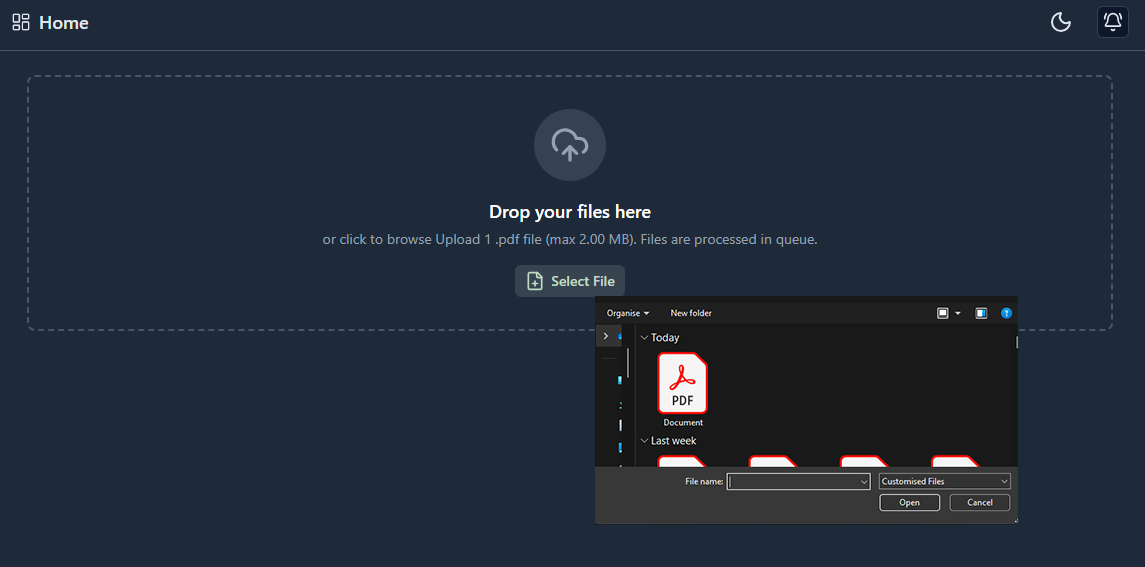
Click the Select Files button and choose your bank statement file from your device.
-
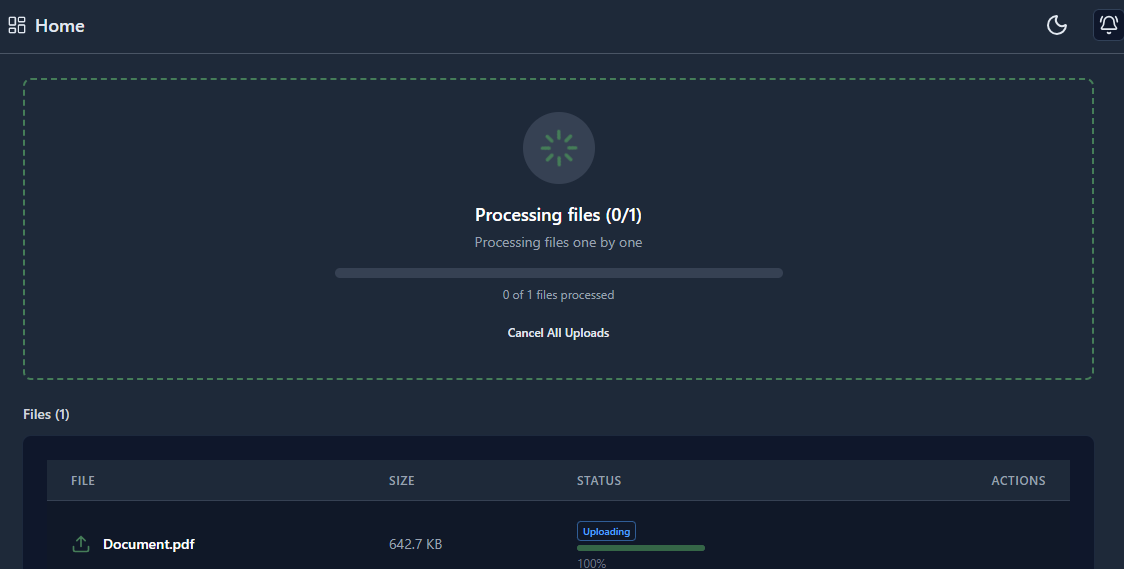
Wait while the file is being processed.
-
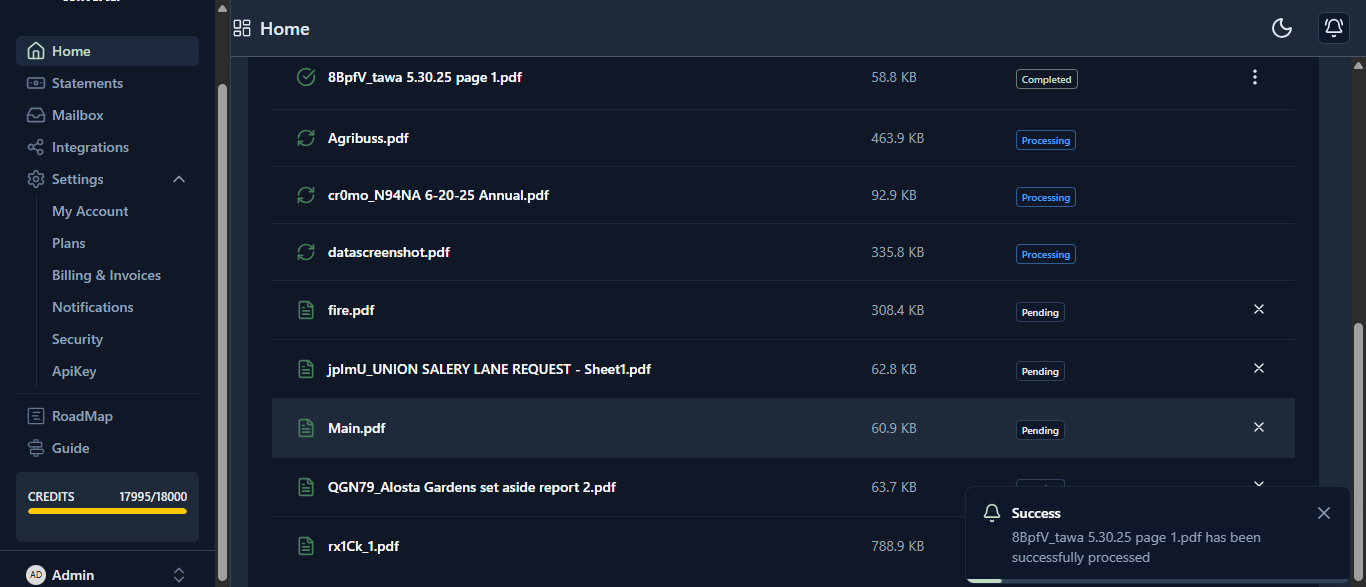
Multiple documents can be uploaded based on your plan.
-
To cancel a file upload, use Cancel All Uploads before the upload reaches 100%.
-
Go to Statements and download your bank statement in your preferred output formats.