
Accounting export — Xero, QuickBooks, OFX#
This page turns a reviewed workbook into a file another system can import. Open it with Xero / QuickBooks / OFX on a statement row, from the row menu, from a finished conversion, or from the workbook editor once your edits are saved.
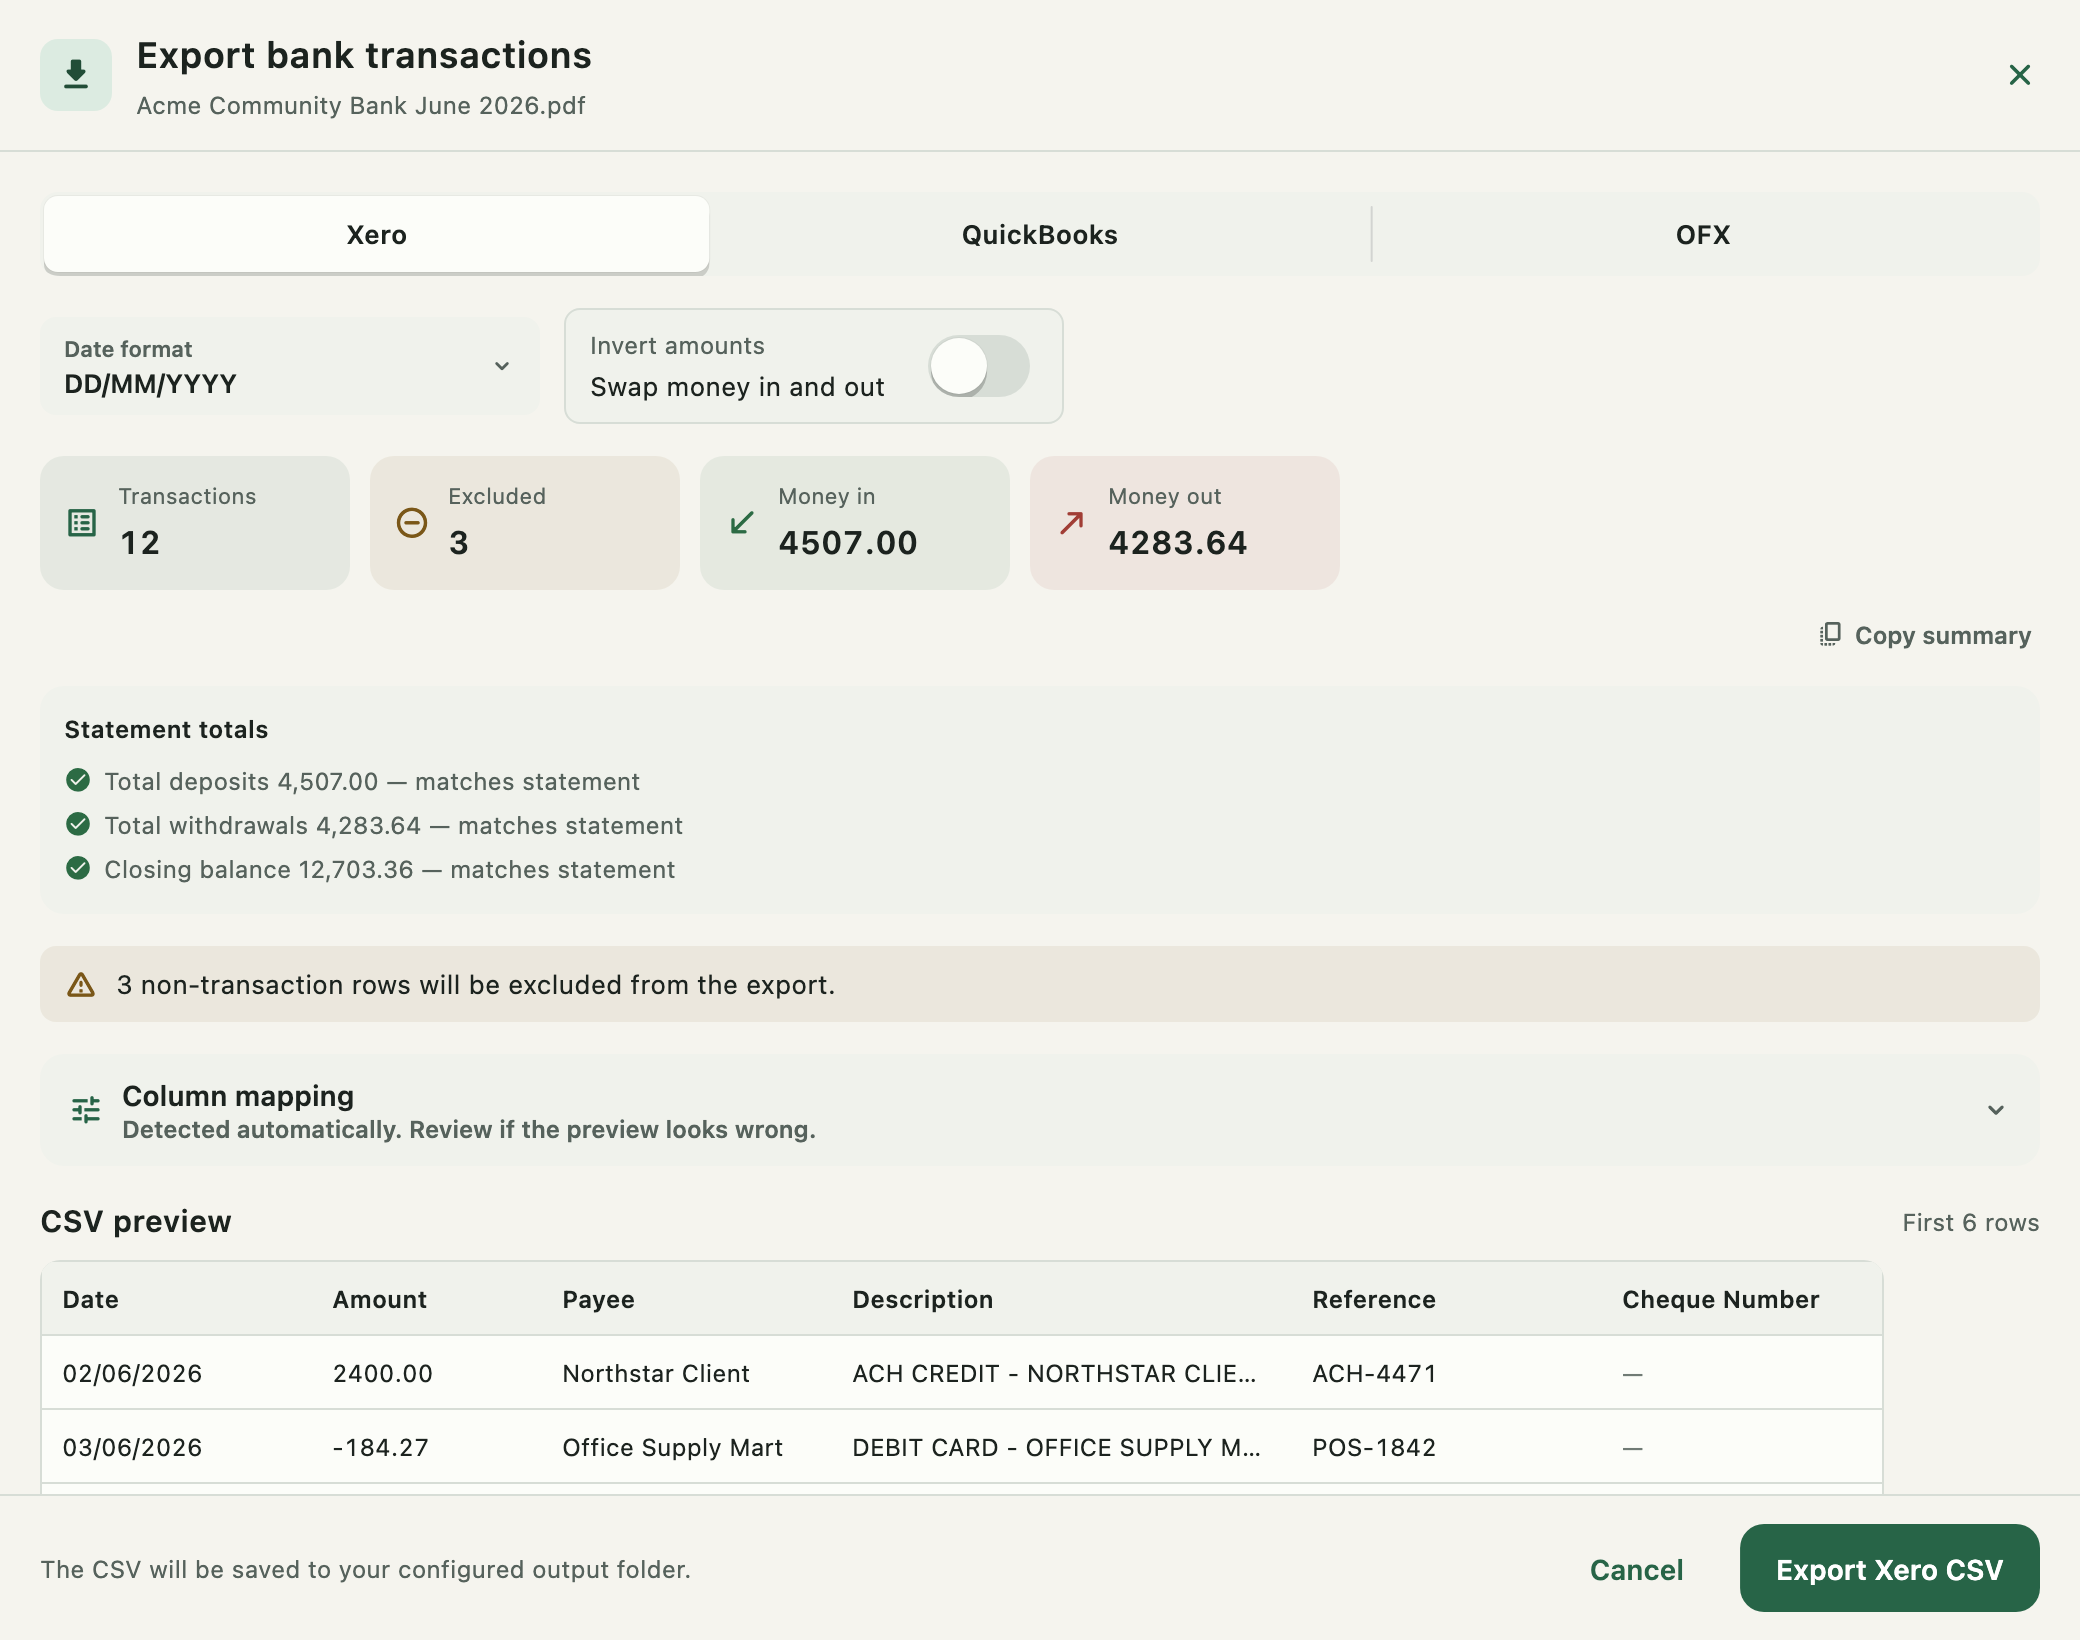
Everything on the page is a preview until you press the export button. Changing a provider, a date format, a mapping, or the invert switch re-reads the workbook and redraws the numbers — nothing is written until you say so.
Settings are remembered per statement. Re-exporting the same workbook later starts from the options you used last time, rather than asking again.
The three formats#

| Format | File | Columns | Use it when |
|---|---|---|---|
| Xero | .csv |
Date, Amount, Payee, Description, Reference, Cheque Number | Importing a bank statement into Xero |
| QuickBooks | .csv |
Date, Description, Amount | Importing into QuickBooks' three-column format |
| OFX | .ofx |
— (a bank feed document) | The receiving app takes OFX: Xero, Sage, Wave, MYOB, NetSuite, FreeAgent |
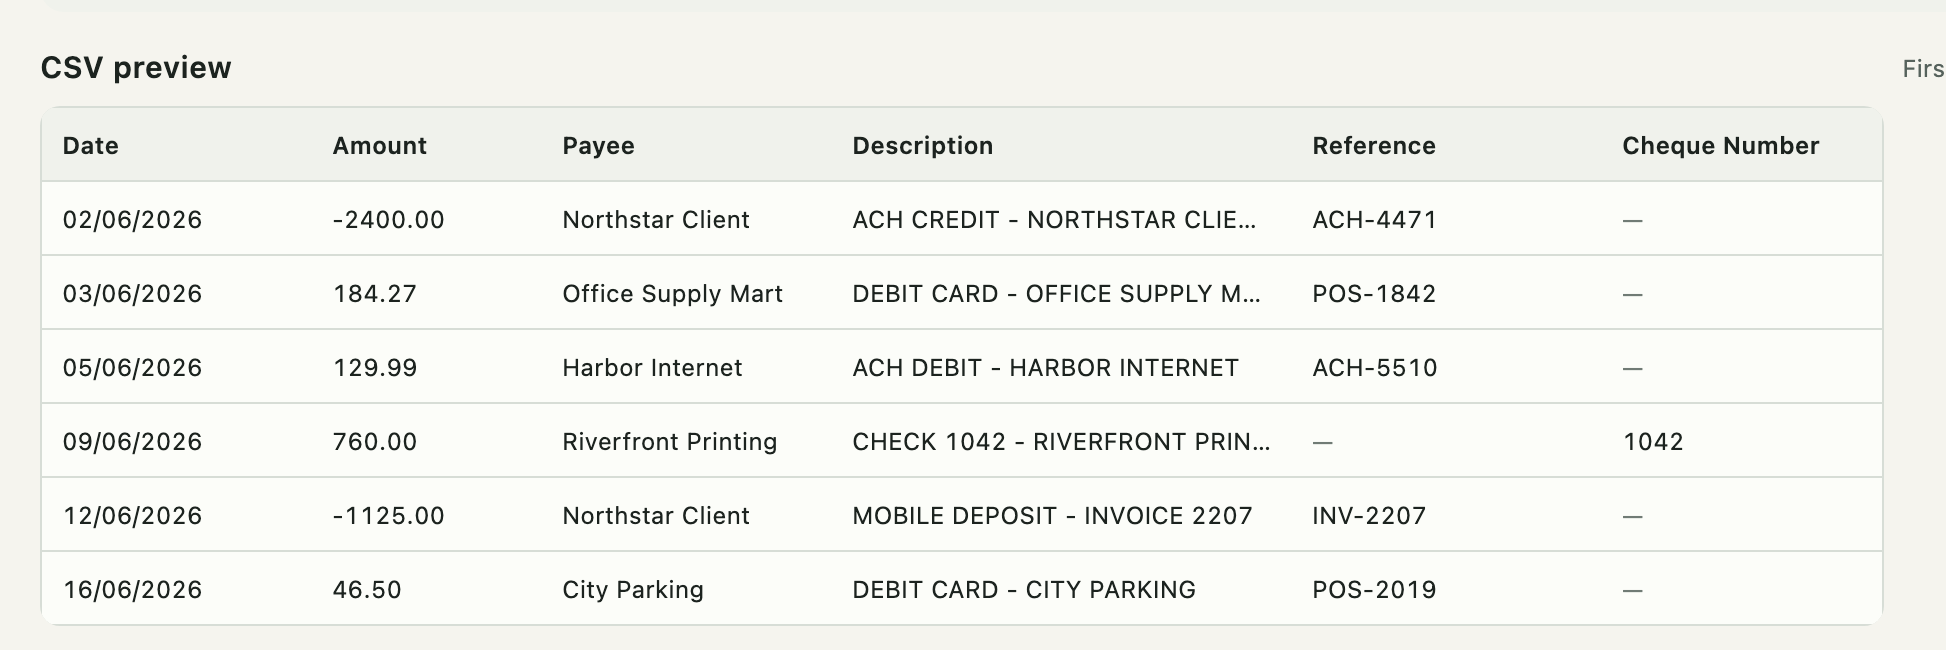
Both CSVs express money as one signed amount: money out is negative, money in is positive. Statements that print separate withdrawal and deposit columns are combined into that single column for you.
Options#
Date format sets how dates are written in the exported file. It starts from your Settings preference but stays overridable here, because Xero, QuickBooks and OFX all let you state a date format at import time and one statement may need something different from your usual.
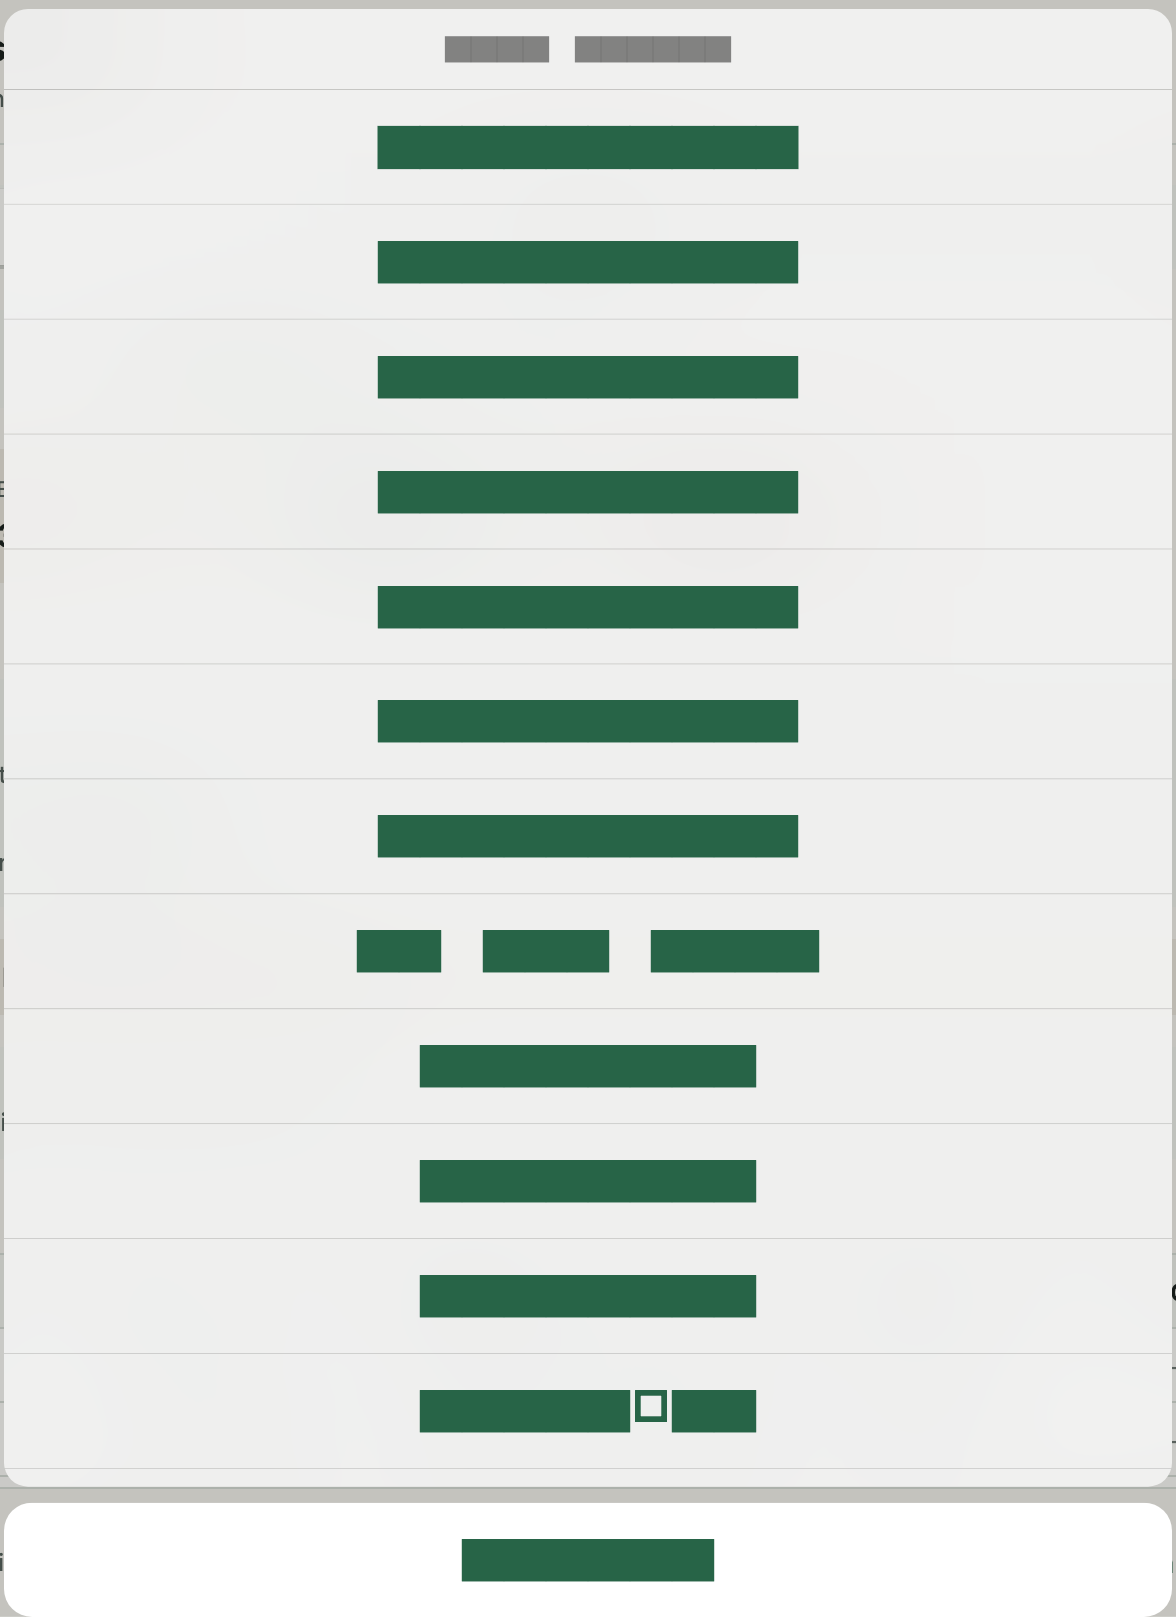
Fifteen formats are available, covering day-first, month-first, and ISO orders with slash, dash, dot, and apostrophe separators, plus two- and four-digit years and a spelled month.
Invert amounts swaps the money-in and money-out sign convention throughout the export. Use it only when the receiving system reads signs the other way round — check the Money in and Money out totals after flipping it and confirm they did not trade places incorrectly.
Totals, and the check against the statement#
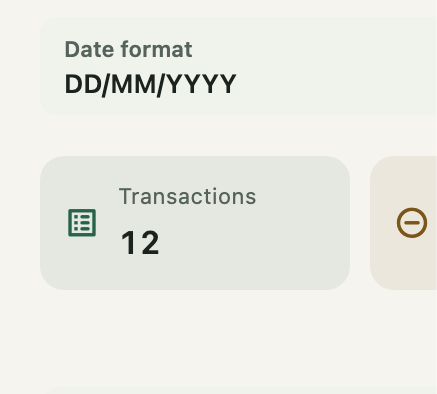
Four cards summarise what will be written:
- Transactions — rows that will appear in the export.
- Excluded — rows that will not, each with a reason. See Excluded rows.
- Money in / Money out — the totals of what is being exported, not what the statement says.
That distinction is the point of the next card.
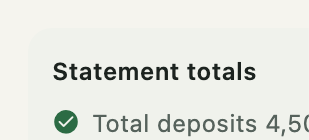
Where the statement prints its own totals, the app extracts them too and compares them against the totals it computed from the transactions it found. A green tick means the two agree — the strongest single signal that nothing was missed or double-counted.
A row that differs shows both numbers. That is worth stopping for: it usually means a transaction was dropped, read twice, or read with the wrong sign. Go back to the editor and find it before exporting.
If the statement prints no totals, this card does not appear. Its absence is not a pass.
Copy summary puts the counts, totals, and each check on the clipboard as plain text — handy for pasting into a reconciliation note or a support message.
Warnings and errors#
Messages appear between the totals and the mapping:
- Amber — the export can proceed, but something is worth knowing: rows excluded, several transaction sheets combined into one file.
- Red — the export cannot proceed. The export button stays disabled until the cause is fixed.
Column mapping#
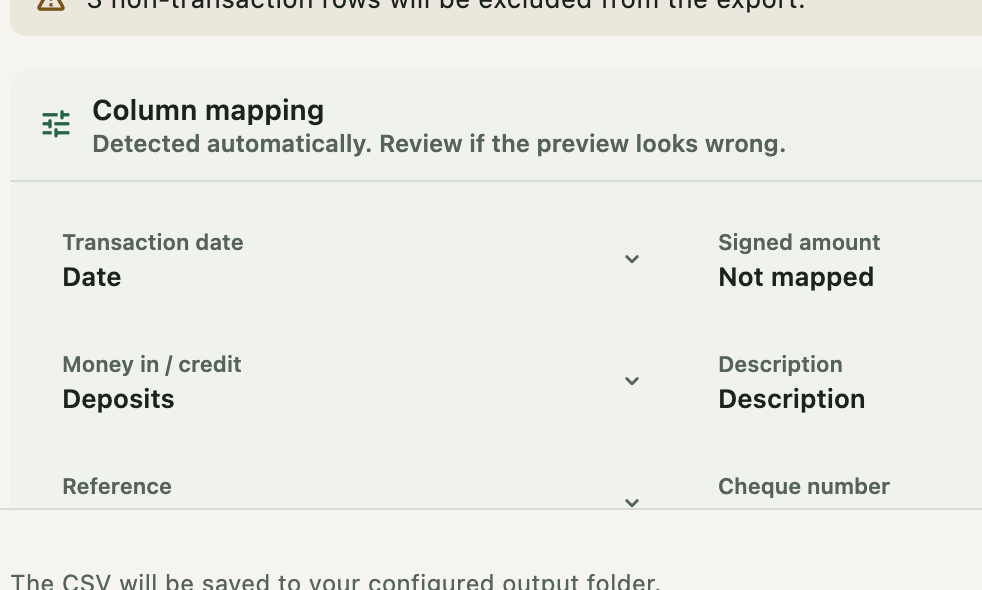
The app detects which workbook column is the date, which is the amount, which is the description, and so on. The card is collapsed because that detection is usually right; expand it when the preview looks wrong.
| Field | What it feeds |
|---|---|
| Transaction date | The date column of the export |
| Signed amount | A single column that is already signed |
| Money out / debit | The withdrawals column, written as negative |
| Money in / credit | The deposits column, written as positive |
| Description | The narration; several columns can be joined |
| Payee | Xero's payee column |
| Reference | Xero's reference column |
| Cheque number | Xero's cheque-number column |
| Balance | Used to sanity-check the run, not exported |
Use either Signed amount or the Money out / Money in pair, matching how the statement prints its amounts. Description takes more than one column — pick several and they are joined, which is what a bank that splits narration across two columns needs.
Any field can be set to Not mapped. Changing a mapping reloads the preview immediately, so you can see whether it helped.
Excluded rows#

Not every row in a statement is a transaction. Balance lines, repeated column headers, subtotal rows, and blanks are excluded from the export, each with a reason and the sheet and row it came from.
Some exclusions are a judgement the app made and you can overrule — a balance row, a total row, a zero amount. Those carry an Include button, and pressing it puts the row back into the export. Rows that could not be parsed at all offer no such button, because there is nothing to include.
Expand the card whenever the transaction count is lower than the statement's, and check what went missing.
Statements printed without a year#

Some banks print 08 Jun with no year. When the workbook's dates are like that, this card
appears and the export needs the statement's period before it can write real dates.
Enter the start and end in YYYY-MM-DD form. If the workbook's summary text named the period,
the fields are already filled in — check them rather than assuming. Supplying the whole period
rather than a single year is what makes a statement crossing New Year come out right.
The preview reloads once a complete, valid period is entered; keystrokes in between are ignored, so nothing flickers while you type. The period must be a real range of no more than 366 days.
You can also fix this once and for all in the workbook editor, with Add year to dates — that writes the years into the workbook, so later exports start from complete dates.
The CSV preview#
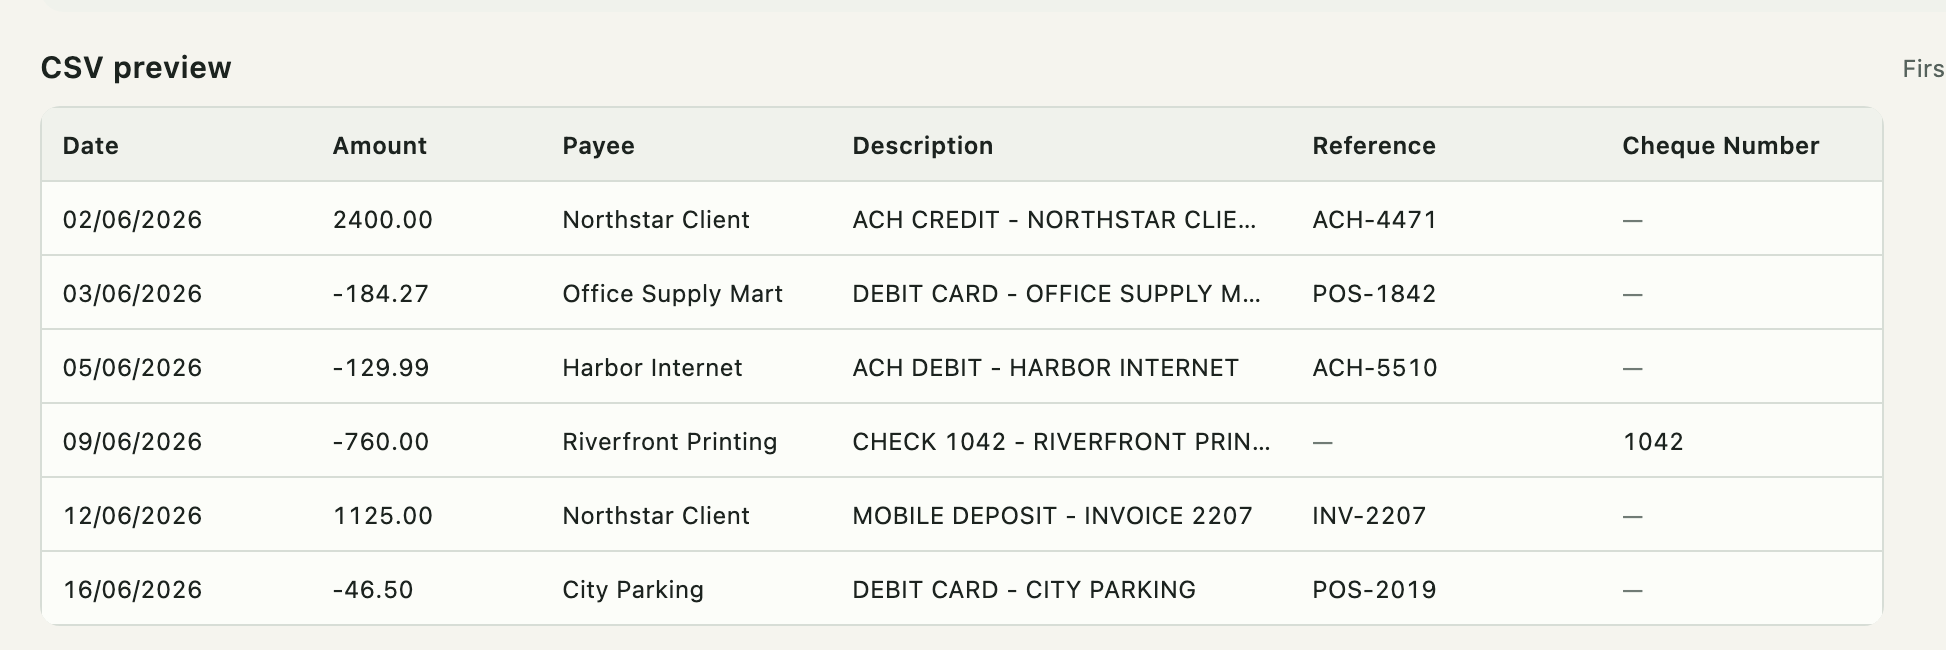
The first rows of the actual file, in the selected provider's column layout, with the selected date format and sign convention already applied. An em dash marks an empty field.
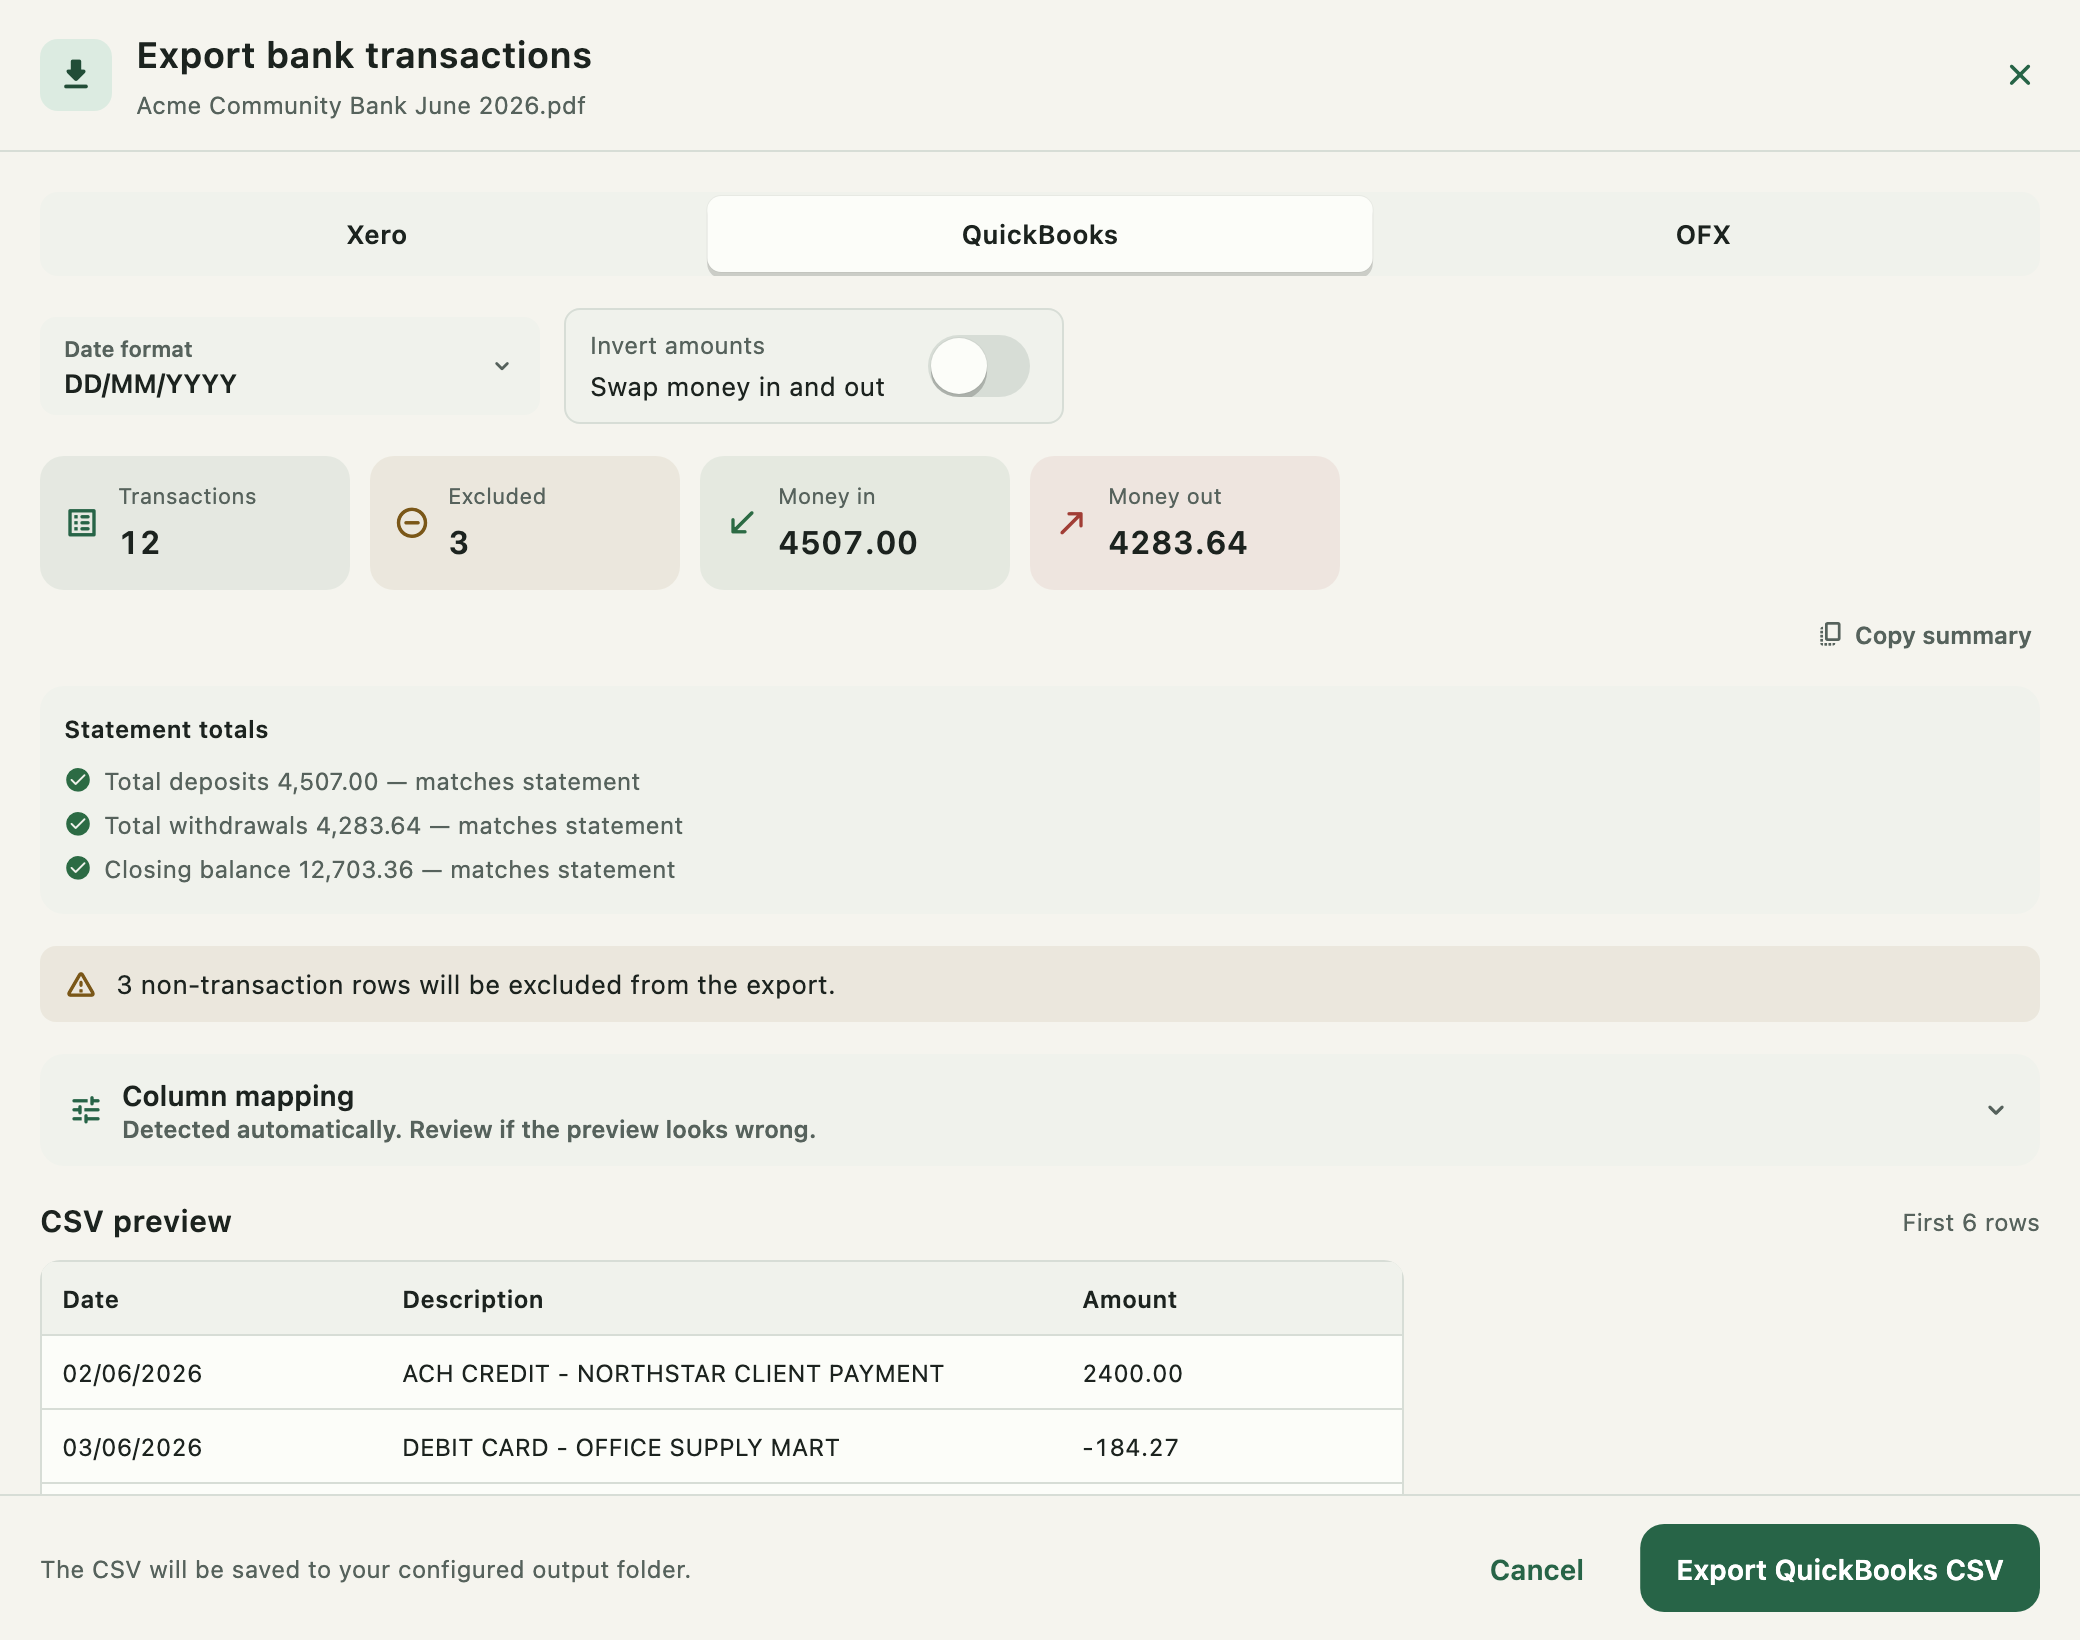
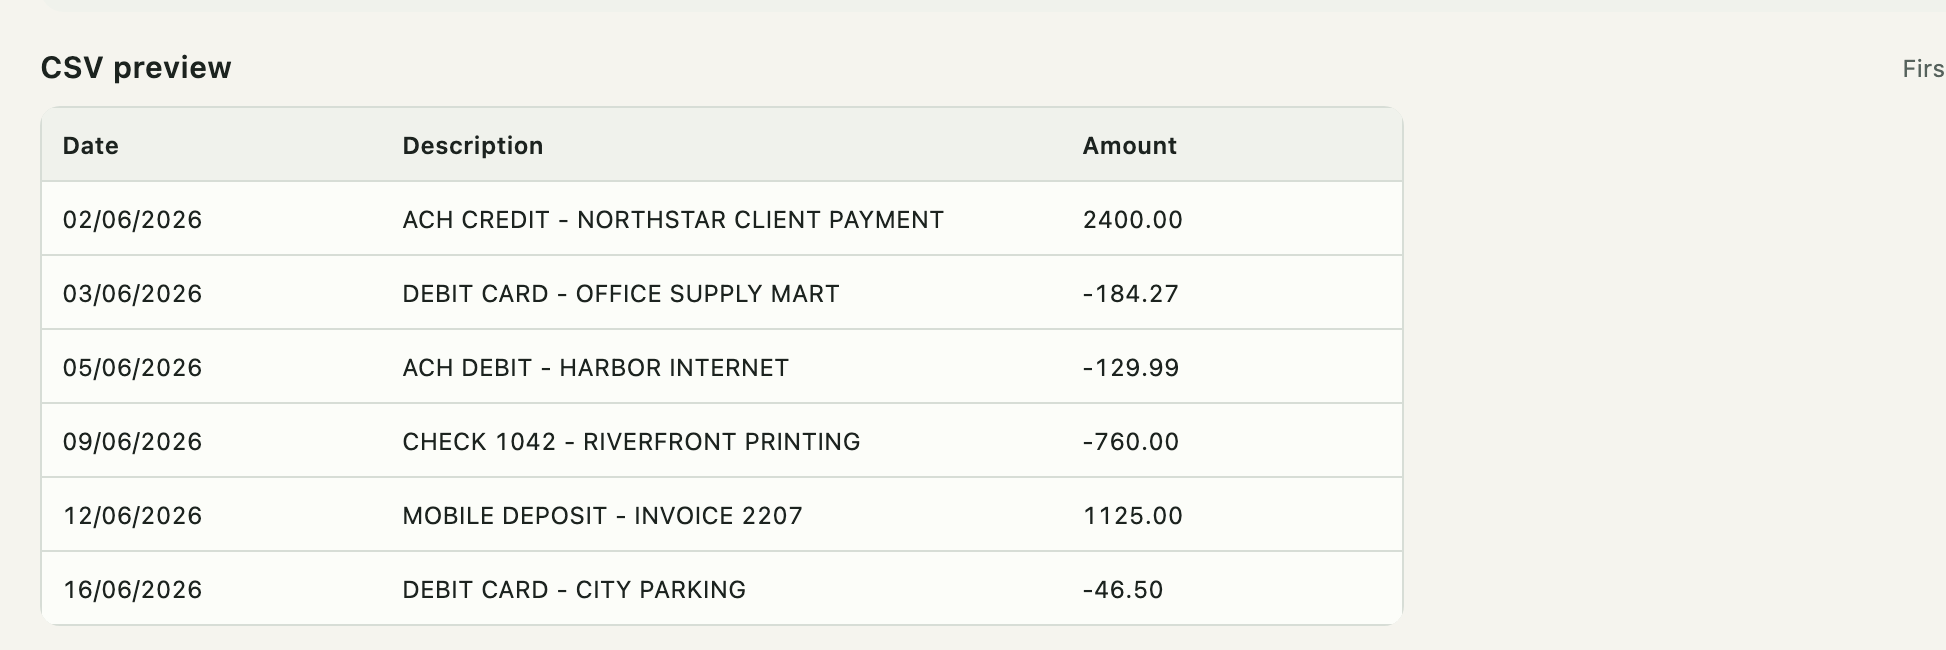
QuickBooks is the narrow one — date, description, amount. Payee, reference, and cheque number have nowhere to go in that format; if you need them, export to Xero or OFX instead.
Read the preview before exporting. It is the last place a wrong mapping is cheap to notice.
OFX#
An OFX file describes one bank account, and a statement page cannot reliably supply the identifiers that description needs. So OFX asks for them.
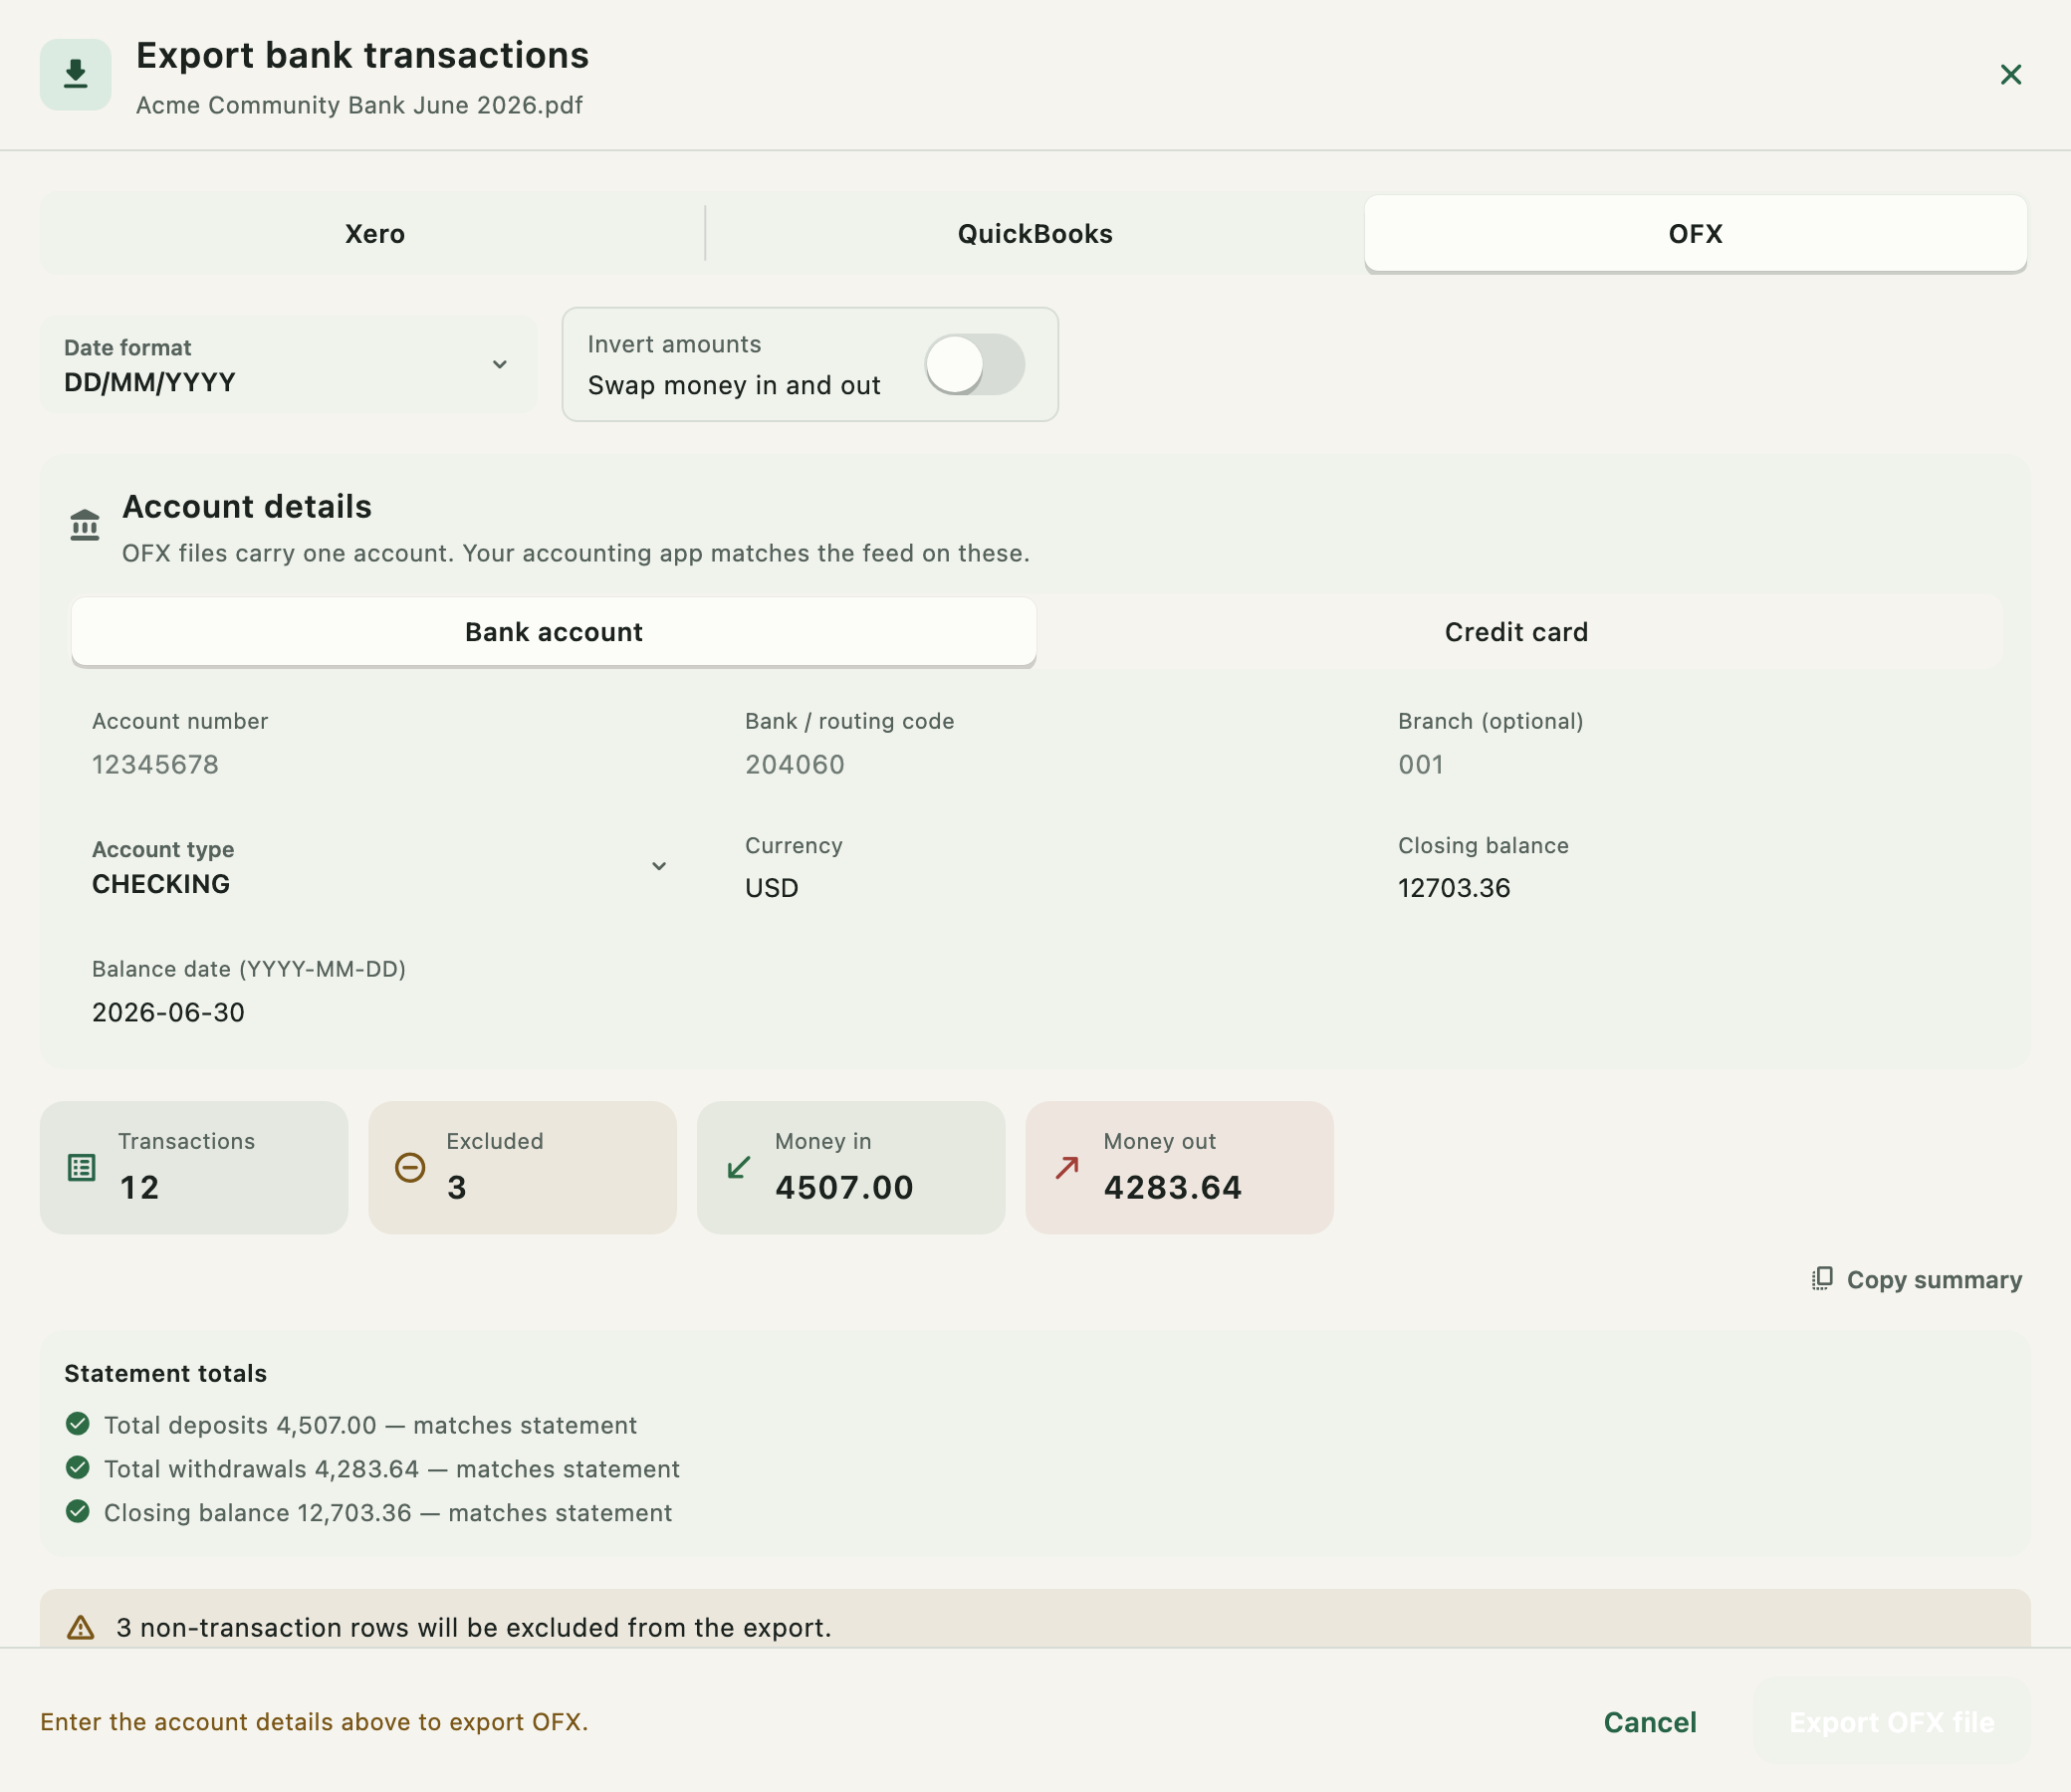
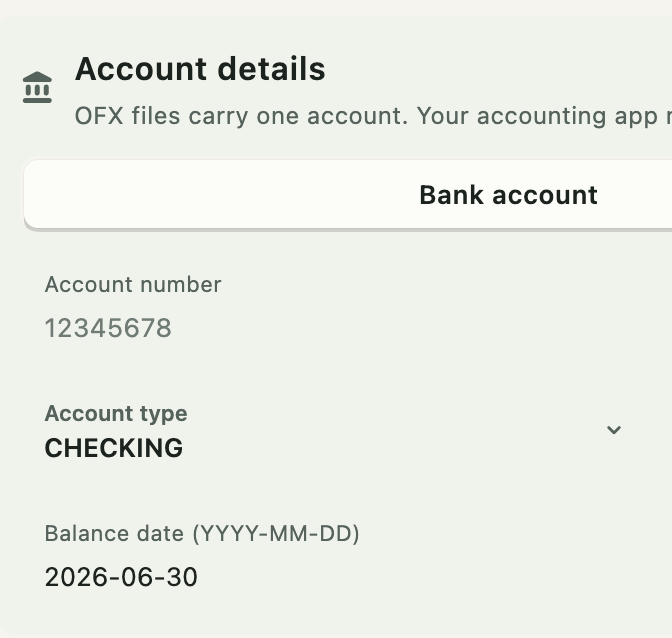
| Field | Notes |
|---|---|
| Bank account / Credit card | A credit card has no account type or bank code |
| Account number / Card number | Required, at most 22 characters |
| Bank / routing code | Bank accounts only; required, at most 9 characters |
| Branch | Bank accounts only; optional |
| Account type | CHECKING, SAVINGS, MONEYMRKT, CREDITLINE, or CD |
| Currency | Three letters, e.g. USD |
| Closing balance | Prefilled from the workbook when the app could read it |
| Balance date | YYYY-MM-DD; prefilled alongside the balance |
The app fills in the closing balance and balance date when it can find them in the workbook, so you usually only need to supply the account details. Check the prefilled values anyway.
Use your institution's real identifiers. The numbers on the sample statement are invented and will produce a file no accounting system can match to an account.

Until every required field is valid, the export button stays disabled and the footer says so, rather than letting you press it and fail.
Exporting#
The button names what it will produce — Export Xero CSV, Export QuickBooks CSV, or Export OFX file — and writes to the output folder from Settings.
It is unavailable while a preview is loading, while an export is running, when the preview reported an error, and, for OFX, until the account details are complete.
When it finishes, a dialog reports the transaction count and the file's full path, and offers to open the file or reveal it in its folder. The new file also appears on the Statements page.
The options you used are saved against that workbook, so the next export of the same statement starts where this one left off.
Exporting several statements at once#
See Merge and batch export for Export to accounting, which runs one provider across many workbooks using each one's remembered settings.
Before you import#
The export reflects the workbook, and the workbook reflects a model's reading of a page. Before this file reaches your accounting system:
- Confirm the transaction count matches the statement.
- Confirm every statement-totals check passed — and investigate any that did not.
- Confirm the sign convention matches what the importer expects.
- Read the excluded rows and confirm none of them was a real transaction.